Welcome folks to my little blog about my never ending Triumph TR7 restoration. The aim here is to get us up to speed on the restoration, so that I can show you where I am up to right now. However, there is a bit of history to explain.
Back in 1994, I bought a Triumph TR7, restored it (well, tarted it up),
drove it to Corfu, and brought it back.
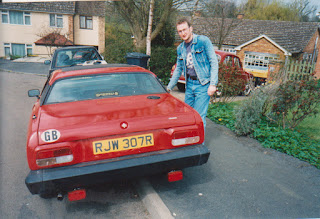
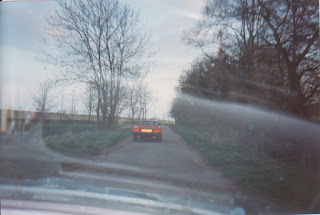 |
| The TR7 being driven home after purchase, on back roads, as I don't think it was road legal at the time. |
 |
| This is what was towed back. |
 |
| Work begins. |
 |
| Fitting a new cover sill. |
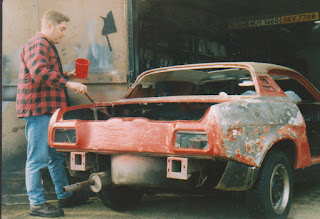 |
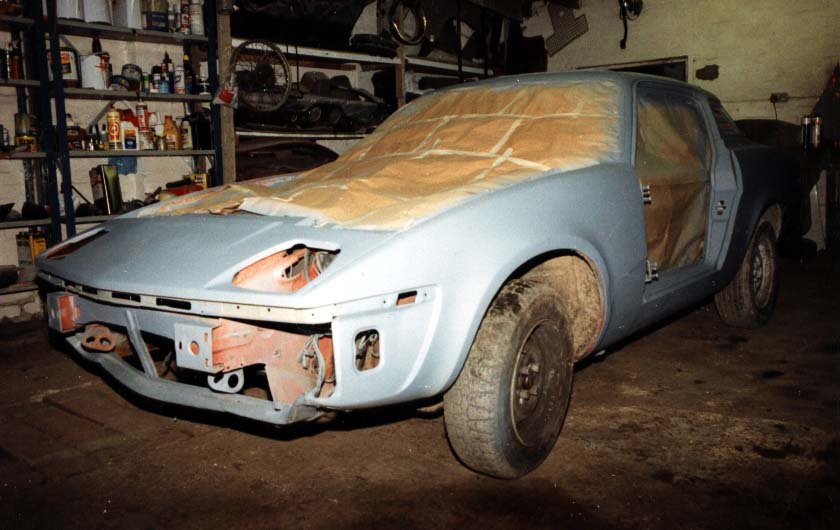
| Neil removes the old paint. |
 |
| Dust coat... |
 |
| ...and out she pops (full of filler!) |
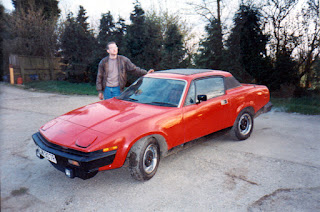 |
| Looking proud! |
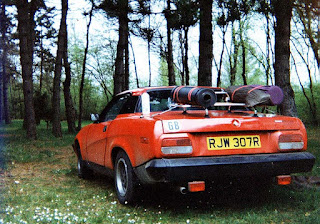
 |
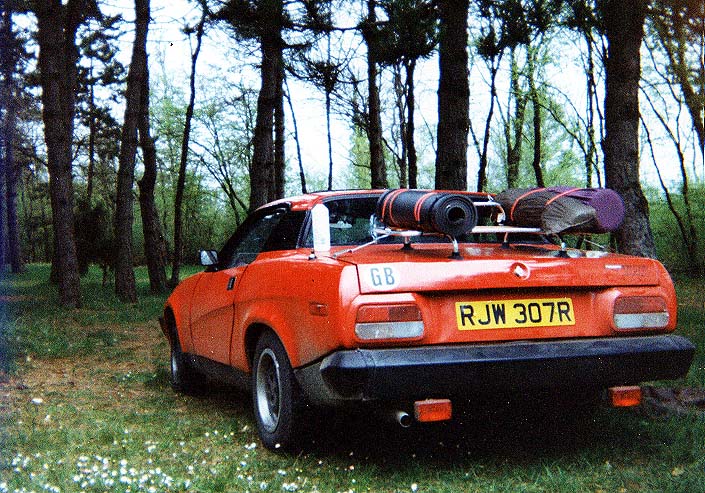
| This may have been us leaving for Greece. I wish I'd left the double denim at home. |
 |
| France, I think. |
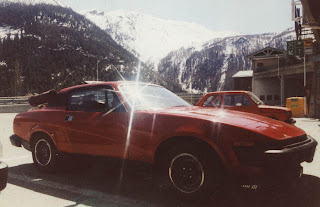 |
| RJW307R in Italy |
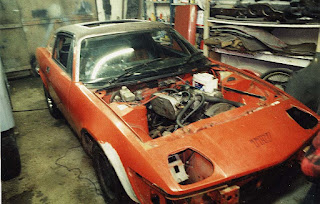
By the time it returned to UK shores 6 months later it was very battered
and so put into my garage, after which I periodically did the odd job
to it in a token effort at a full restoration.What I actually did was strip all of the paint off it, whereupon it went rusty, then leave it in various garages for a long time. Needless to say it ended up a bit of a mess.
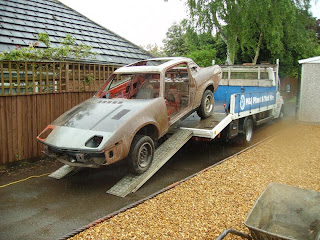
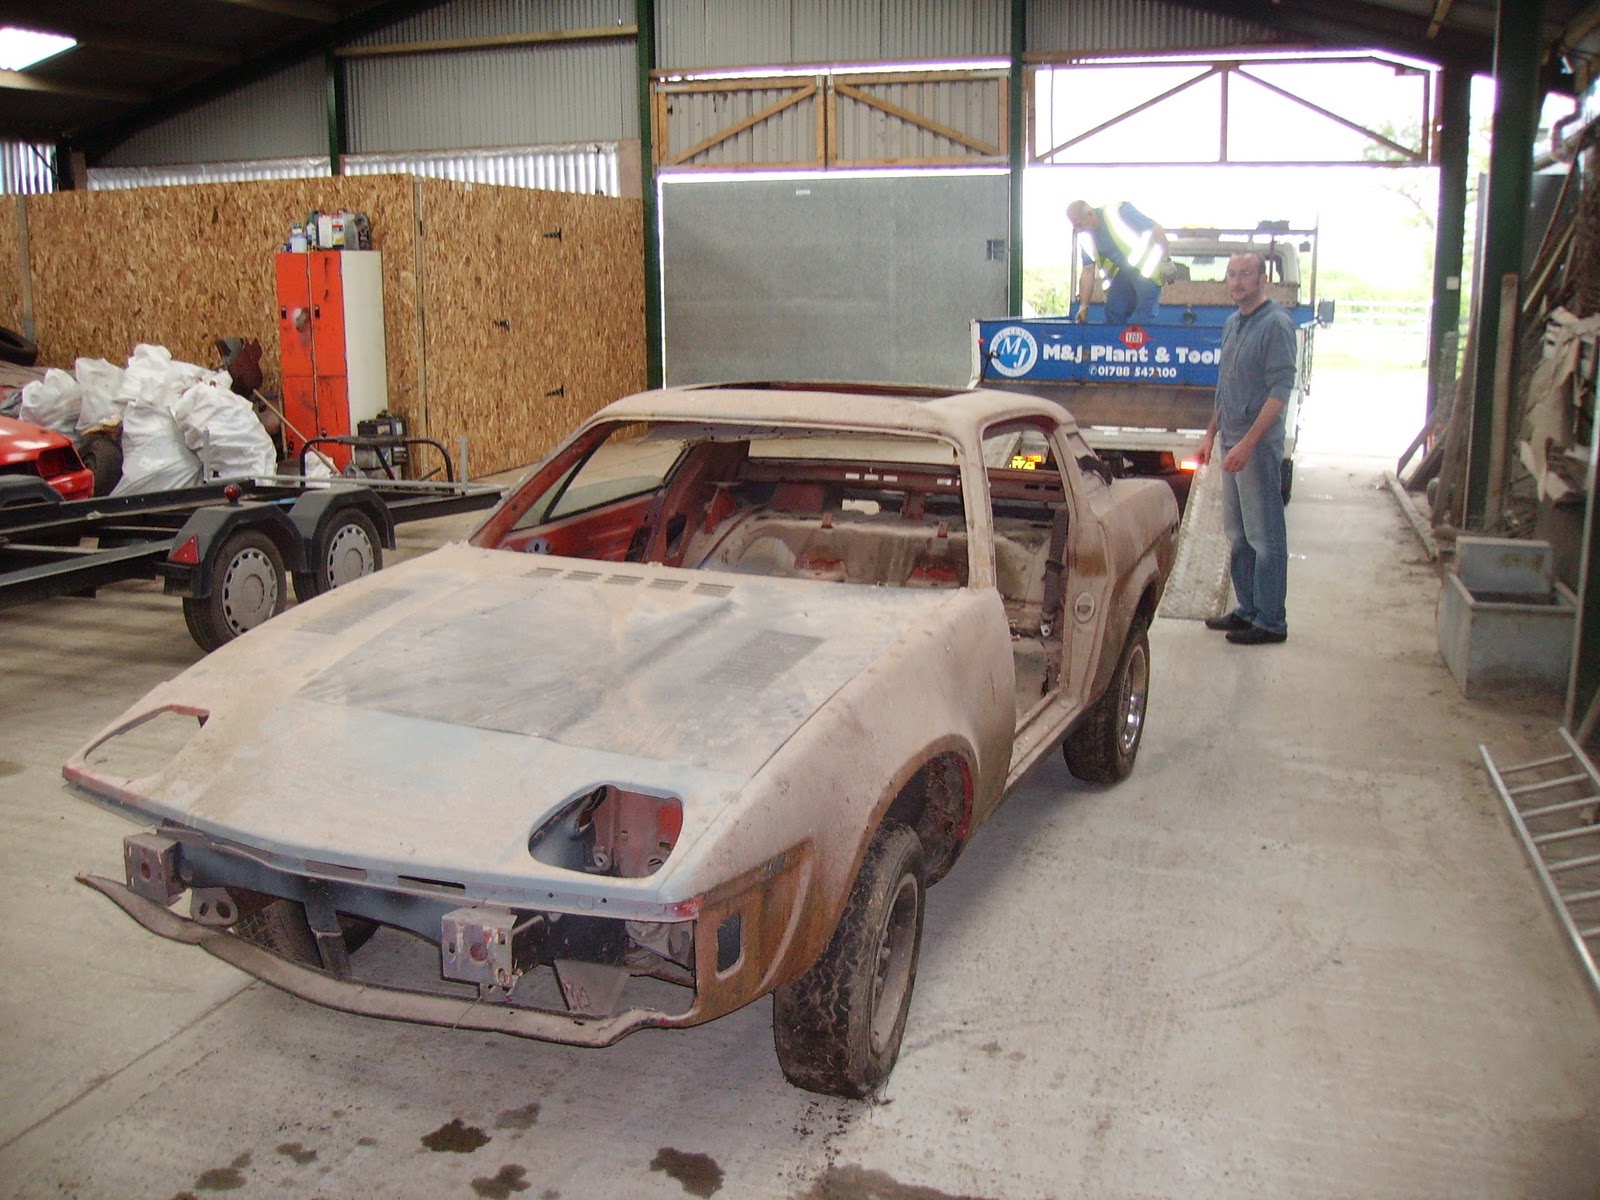
 |
| TR7 pulled out of years of storage |
Looking at my records (and they are patchy) in 2005 the car "came home" and was put into a new garage at my house, where it then languished for another few years.
Over the next few years I collected body panels, to the extent that I had nearly a whole TR7 in spare parts, with a view to one day doing that proper restoration job the car deserved.
In the meantime, I became a sort of armchair anorak when it came to TR7s. I became a staunch supporter of these cars, particularly the fixed-head coupes which are so rare now. Yes, I can tell the originality of a car just by looking at its interior door handles; its age by scrutinising its badges. I know a dog from a swan and will bore you rigid about the history of the car. But I do it in good humour and laugh about the knowledge I have amassed.
Most importantly, though, this knowledge helped me to decide that MY rubbish Speke-built car would (eventually) end up as one of the best on the road. My approach is simple - given the paucity of early fixed-head TR7 coupes now on the road, I want mine to be restored to absolutely original specification, without a single modification. And that includes interior door handles, badges and standards of welding. Ok, maybe not the last bit.
 |
| RJW307R returns home |
So, dear followers, what comes next are various retrospective posts to show you what has been done, including my own learning curve, and the current state of play.
There - that's a potted history of how we got to this blog - it is all about my current restoration of RJW 307R, a Speke-built fixed head TR7. It is still a very slow burn.
I do hope you enjoy it.
John


