Sunday 28 April 2013

Rear Lower Sill Panel, Offside - Part 1

Now that the majority of the rear lamp panel work is done (it just needs attention to filled areas), I reckon I can actually see a tiny speck of daylight at the end of the tunnel. In theory, the remaining bodywork jobs to be done, involving welding, are:
  1. Rear lower sills, inners and outers;
  2. Inner and outer rear arches
  3. Upper area of windscreen surround/roof panel.
After that it will be a case of going over the whole car, grinding down welds, filling here and there, waxoyling, priming and painting. But that's all a long way off, so for today I decided to remove the offside rear lower sill panel(s). The inner on this side appeared more sound than the one on the near, so my intention was to first remove the outer and see what I was left with.


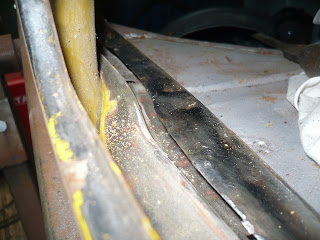
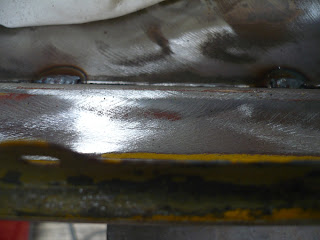
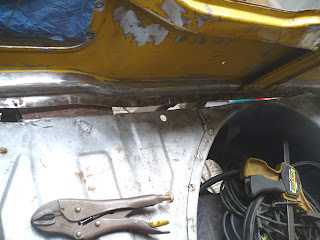
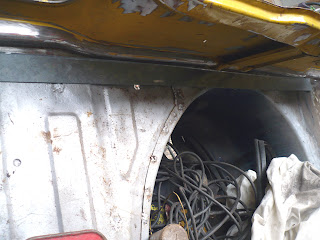
Having drilled away the spot welds on the panel edges and in the boot, the outer came away quite nicely and was devoid of the mass of fibreglass matting seen on the nearside. However, all was not well with the inner and it was clear that any hope of repairing it was gone. Drilling out the spot welds in the boot floor was pretty easy, but gosh I had forgotten how awkward to get to the ones to the inner arch are. Having "Houdini'd" myself with the drill, I remembered that on the nearside I actually cut the panel off along the wheelarch flange, then removed the remnants with a grinder.

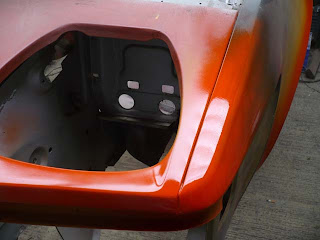
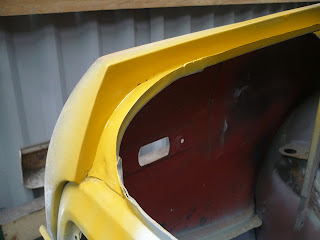
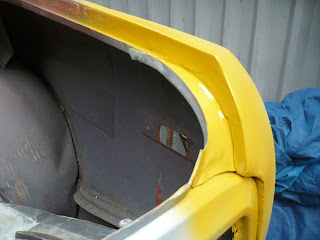
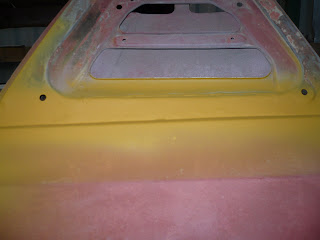
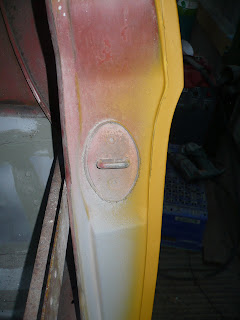
As this realisation dawned, I put down the drill and decided to put some paint on the recently repaired & primed wing-rear lamp panel, arches, door shut and nosecone. I told myself that I was doing it to keep the moisture out until the areas are painted properly - which is probably sensible - but to be honest I just wanted to paint something for the fun of seeing new paint on the car. Obviously this paint is very temporary and the car will be completely prepared and nicely painted when the bodywork is done. By the way, the car should be painted in Flamenco but Halford's only had Vermilion.


The therapy worked wonders. And may I just say how good Halfords "rattle cans" are?


Saturday 27 April 2013

Dust

 
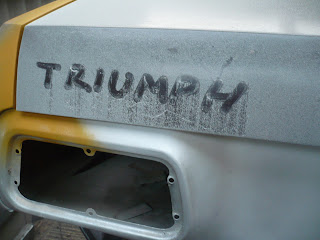
Oh dear, I gave the car Solihull badges by mistake.


Rear Lamp Panel - Part 5

Firstly, an apology. In my enthusiasm to get this job done, I forgot to take any photos during the work. Damn. For those of you who read the previous post on the subject, I decided to cut out a section of boot floor and use a bit of steel to re-make it in order that it would meet the rear lamp panel. This I did.

The area between the grey seam-sealer stripes is new metal.
Next job was to grind down and fill the welds on the inner rear wing gutter channels, where it meets the upper section of the rear lamp panel. Lots of thin skims of filler and lots of high-build primer lead to a less than satisfactory conclusion. More more needed here to replicate the factory finish on the offside.

This side looks ok
 
This side looks a bit "fillerey"
 
Ignore the Solihull dust badges!


C-Post Part 2

Just a quick update here. Today was a "fill & grind" day, so the welding to the top of the rear wing/C-post were ground down and treated to a skim of filler.

Very before

Before

I don't have a photo of the repair panel being welded to the upper part of the rear wing, but here's one of just before. You can see the holes made for plug welding, which was done shortly after. Although this area won't be seen as it will be covered by the C-post finisher, I still spent a lot of time on it.

After
...and after a quick coat of paint to keep the moisture out.


Rear Wing - Nearside - Part 7

Just a quick update here. Today was a "fill & grind" day, so the spot welds along the wing to door flange were ground down and treated to a skim of filler.

Before
 
 
After
 
"After" photos to follow


"After" photos to follow


Sunday 14 April 2013

Rear Lamp Panel - Part 4

Most of Saturday saw me at work (the day job) so Sunday was the only day I could get in the garage. I didn't have a great deal of time with the TR7 this weekend, but I was pleased with what I did. Readers of my previous couple of posts will remember that the rear end was proving troublesome in reassembly, due to the very odd joint with the boot floor. In essence I concluded that someone before me had also fitted a rear lamp panel and just hacked the boot floor around to fit.

So today I thought "to hell with it" and cut off the entire lip of the boot floor, leaving it flat to meet the correct lower edge of the rear lamp panel. The intention is to then extend the rear floors to meet the rear lamp panel, by adding some sheet steel. I found some very nice galvanised steel knocking around my garage. The job didn't get finished today, in fact it didn't really get started, but the steel is cut and ready to be fettled for next weekend.

Oh, and I also tacked the rear lamp panel in place.

Some tack welds to hold the panel in place.

The boot floor lip has been cut away, so now I have to extend the boot floor to meet the lower edge of the lamp panel.
Here's a nice bit of steel I will use. It is not cut or shaped yet.

Monday 8 April 2013

Rear Lamp Panel - Part 3

Boiinnggggg! Spring has sprung! Ok, maybe not in meteorological terms, but certainly in restoration terms because today found me back in the garage.

You may recall that last time I had offered up the yellow "new" rear lamp panel to the car's now rather bare rear end. It fitted ok, but it still needed a lot of prep on the areas where it would be welded, plus I wanted to make sure the boot would fit well. To adapt an old phrase "it's a long time welded", so it is important to get this right.
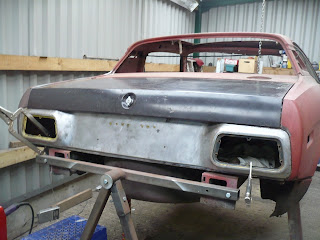
Nice ar*e.
The new boot was bolted in place after having one of those nice moments when you remember you have a handy part in the shed. Some time ago I bought a new set of bolts & washers for this job, so once e again things are coming out of the shed and going on the car.

The boot fitted ok, but was low at the nearside. After much head scratching my friend Neil pointed out that the nearside hinge itself had an awful lot of play in it, so we took the boot off again to investigate. It soon became clear that the spot welds which hold the plate, to which the hinges bolt, had broken. A bit of MIG later and all was well. The boot was then reattached and to my joy I discovered that not only is there adjustment in the boot-to-hinge bolts, but also in the hinge-to-body. So with quite a lot of fiddling, the boot was made to sit at the right height and latitude. Sort of.

Fed up with having to use a block of wood to prop the boot lid open, and in fear of it crashing down on my head, the next job was to fit the boot stay bracket. This was drilled off the old section of wing and after being cleaned up, was plug welded in place.
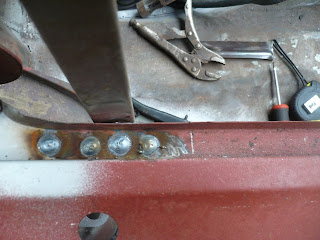
Boot stay bracket plug welded in place.
 Quite a bit of time was spent cleaning up the edges of the new panel and the wings/boot floor ready for welding. I am terrible for letting my heart rule my head, but today I resisted the urge to just weld it all up and worry about any errors afterwards. This needs to be spot-on so it will only be welded when I am happy with the fit of everything. So that just leaves the boot floor, then. Hmmmmm.
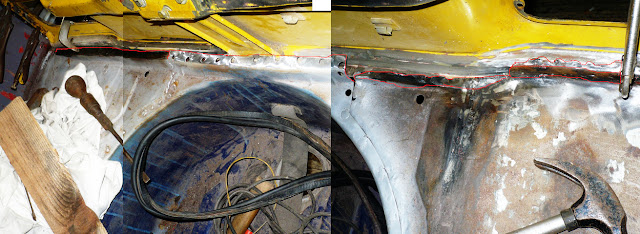
Made of 3 photos, this shows (with the help of the red lines) what is left of the boot floor lip.
In one of my previous posts I mentioned that the lip of the boot floor to the bottom edge of the lamp panel is all over the place. At some points it lips over the panel, at others it is miles to high and in other areas it doesn't meet it at all. I know that Speke build quality was bad (see boot hinges, above), but surely it cannot have been designed this way. I can only assume that someone has repaired it badly before, by cutting off random bits of boot floor and welding whatever was left to whatever was available.

Sadly the only decent solution I can think of is to cut off all of the boot floor lip, leaving just the flat of the boot floor, and fabricate a new one to fit the panel. Incidentally, it was like this with the old panel in place, too.
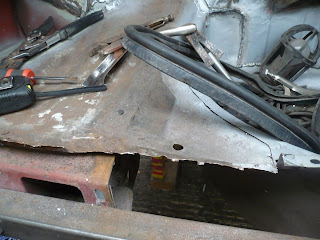
Nearside boot floor. Lip or no lip?

Can you guess which part of the car this is?

I'll keep you posted on what happens next.